Boatyard | Greyhawk | latest | next | 2007-04 | previous | oldest
GREYHAWK
Late April/Early May 2007 Update
Following the Tax Day Storm of 2007 -- the "tent" is still standing tall. You can see that I've had to add battens over the winter to keep the plastic sheeting attached (the plastic ripped out around the staples alone). The frame hasn't budged, though!
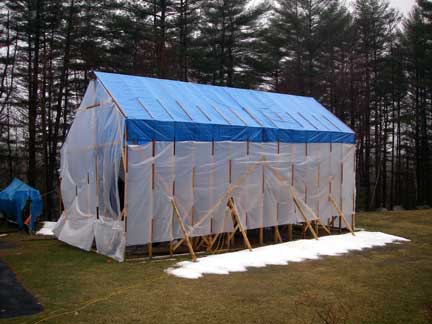
The snow pile is the remains of accumulated snow that has avalanched off the "tent" roof, and is in the shade on the NE side.
It leaks a little along the ridgeline, probably from chafing of the tarp. As soon as things dry out, maybe I'll try patching it up with duct tape :-) from the inside. Of course, the leaks are really not all that bad, and besides -- it only leaks when it's raining! With luck, the "tent" has only got to last another two months or so...
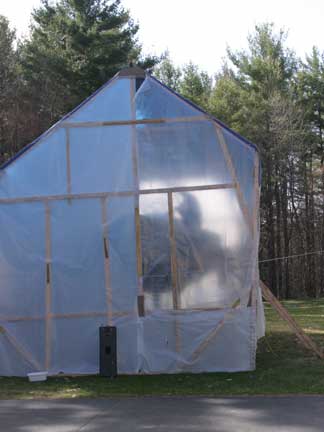
Of course over the last several days, the winds haven't been all that strong, but they've been very gusty and swirly which has been whipping the plastic all around. Here are a couple more pics of the "tent" this spring:
Me, grinding away on deck. I have since cut off the bottom 10 feet or so of the front wall. Unfortunately, that means you can now see all the junk that has collected on the "ground floor" (so no pics! :-)
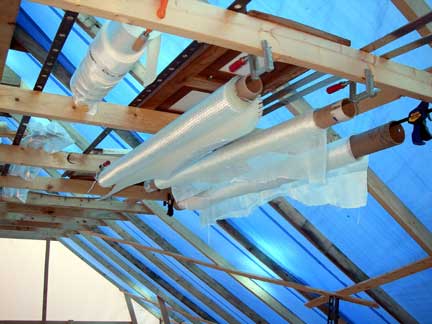
Rolls of fiberglass materials suspended from my overhead storage racks. The collar ties make for convenient storage of a lot of other things, too, like the genoa tracks, traveller, hand rails, hatches, pipe berth frames, etc...
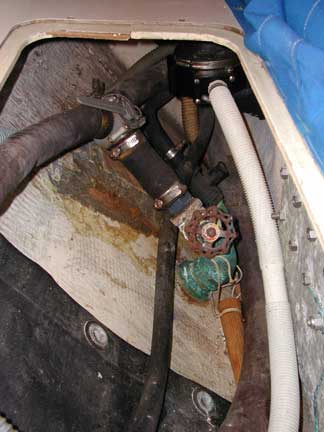
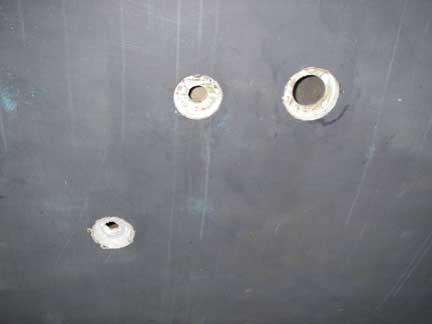
Seacocks and Thru-Hulls
Cockpit drains Then:

|
Cockpit drains Now:
|
| The backing plates are G-10 epoxied in place which have been tapped for the bolts securing the seacocks in place. | |
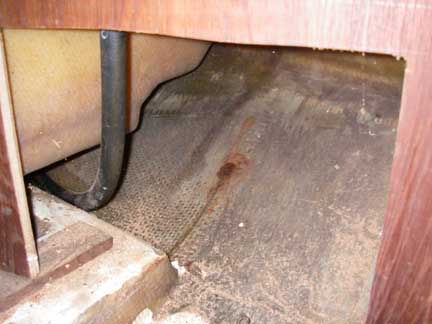
Head discharge under port pilot berth Then:
|
Under port pilot berth Now:
|
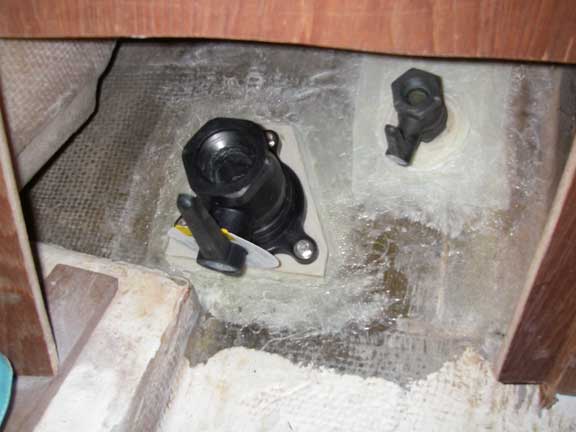
Space underneath toilet platform in head compartment Then:
|
And Now:
|
| Relocating the head discharge and toilet intakes out from under the port pilot berth to under the toilet itself will make these valves much more accessible, which is important since I like to keep them closed when not in use. | |
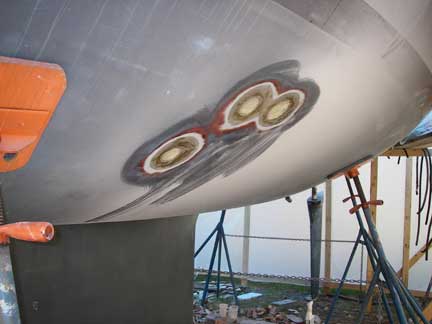
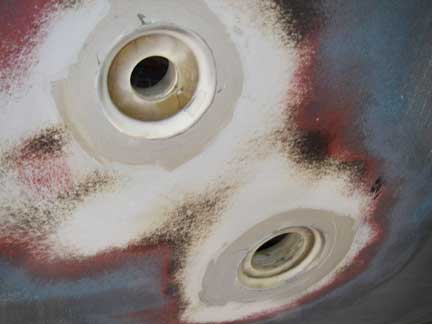
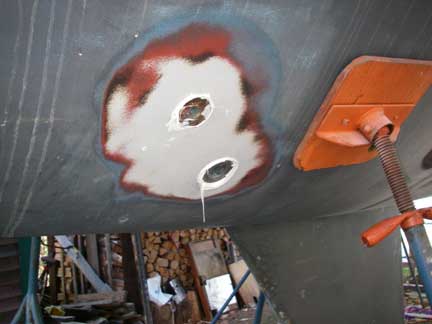
Toilet and Basin discharges, and toilet intake, Then:
|
And Now:
|
So they have been relocated forward:
|
And Now:
|
| Since my thruhulls are supposed to be flush to the outside of the hull, I had to carve and mold recesses for their heads. They are still just a little proud, though. Once the LifeCaulk has cured, I'll trim it down, and fair the area with epoxy fairing compound. | |
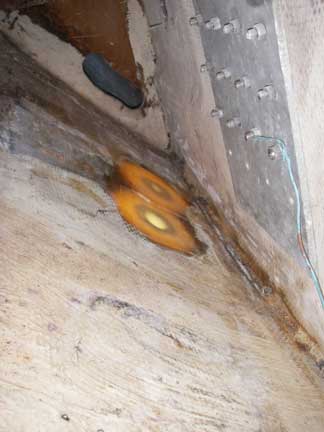
Prop Shaft Projects | |
| See this page for initial discussions of the prop shaft issues, and the prop shaft extraction saga here; this is just a brief update. | |
Stuffing box Then:
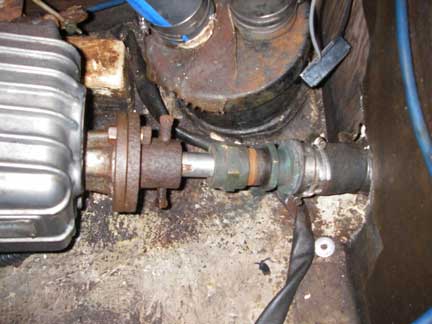
|
Stuffing box Now:
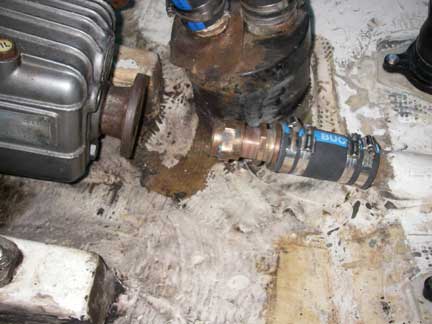
|
Strut-to-hull attachment Then:
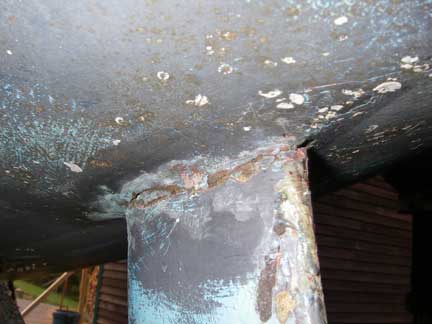
|
Strut-to-hull attachment Now:

|
| The strut appears to have been fiberglasssed to the hull (inside and out). My plan is to inject some sealant up into the gap around the strut where it goes in to the hull, and then fiberglass over it again -- the sealant being there to stop water ingress when (if?) the fiberglass ever cracks again. | |
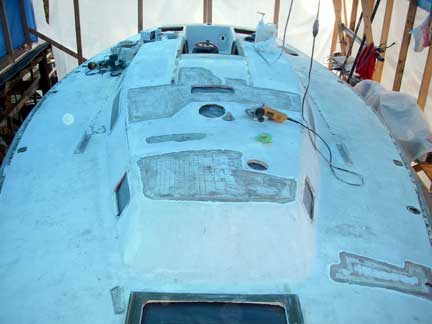
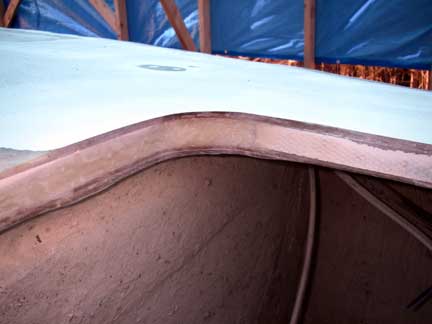
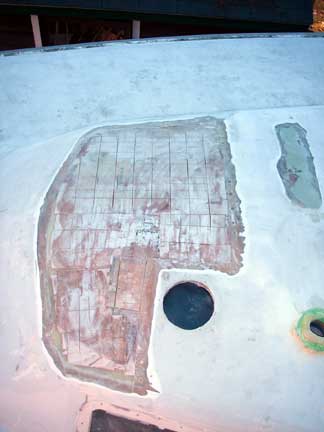
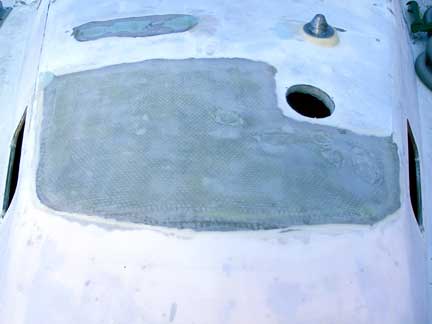
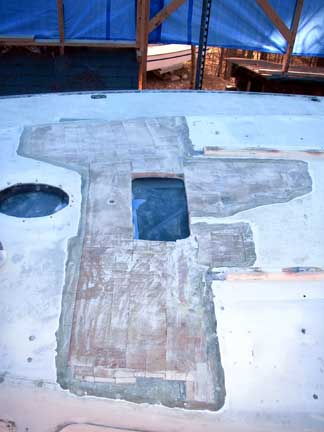
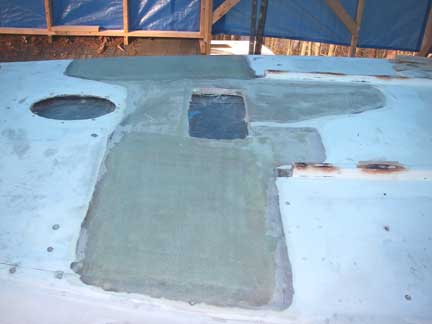
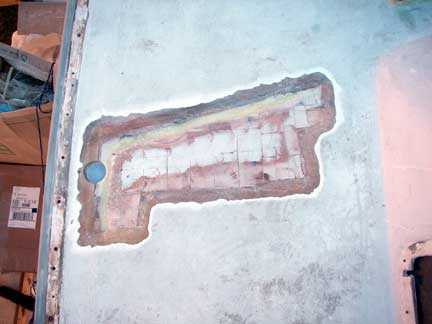
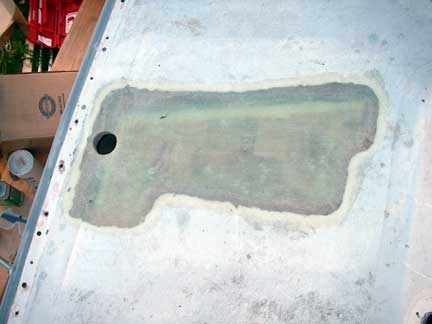
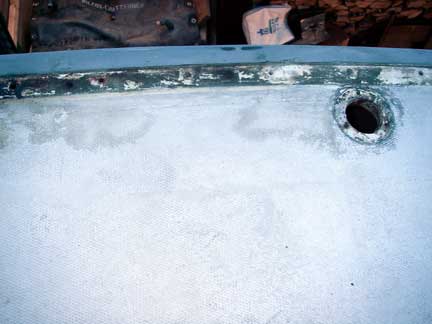
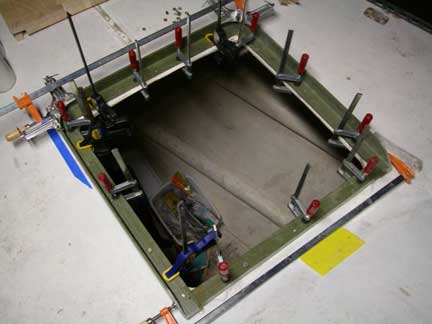
Deck Recoring
1. Deck Then:
|
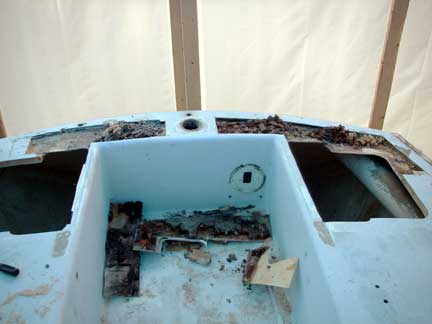
3. Recoring Done:
|
2. Covered in Dust:
|
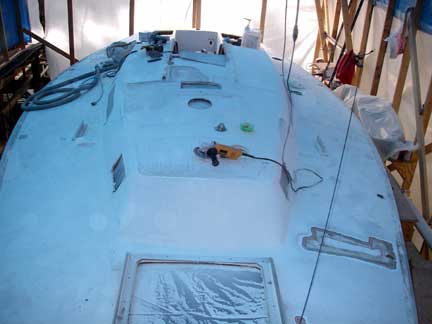
4. Deck Now (Skin Lamination Done):
|
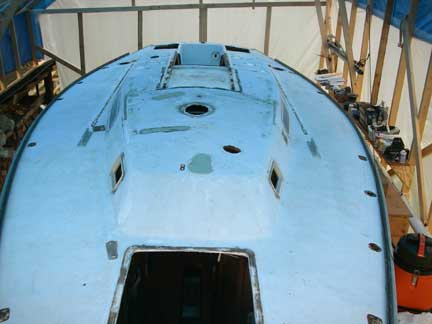
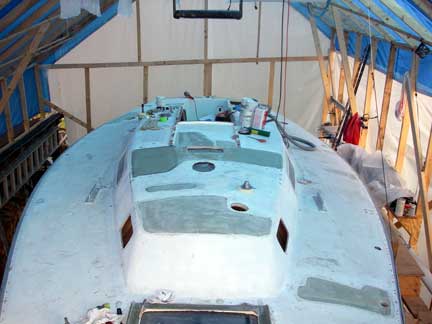
Cockpit Area Then:
 |
Cockpit Area Now:
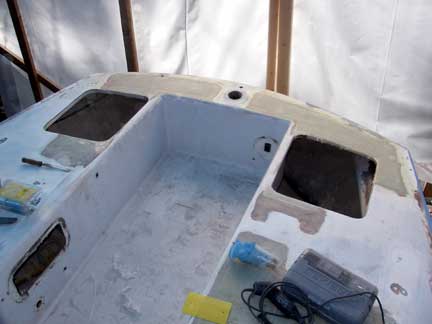 |
And here's an in-progress pic:
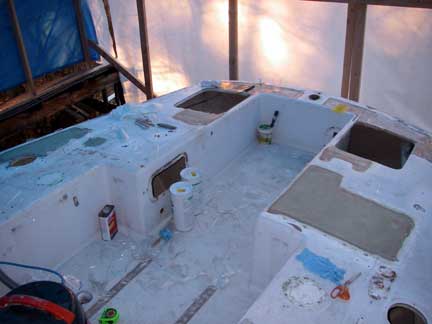
|
|
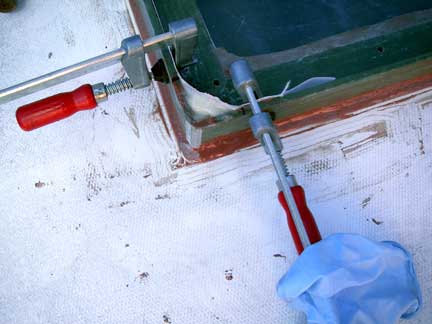
| One important task was the filling of all exposed core edges around penetrations through the deck | |
such as for the lazarette hatches:
| and the two deck mounted compasses:
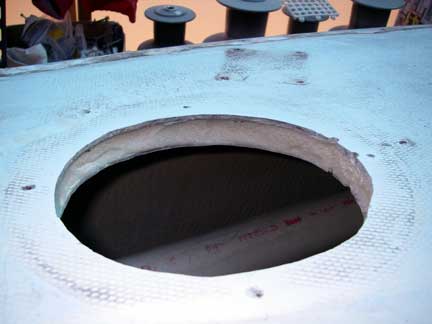 |
| and similarly for the vent opening forward. I used a dado bit in my router to mill out the coring around these openings, and then filled with silica-thickened epoxy, or around the hatches (where it's straight) I glued in strips of the old deck fiberglass skins ripped from areas that are being re-cored (and re-skinned). | |
Cabintop Then:
 |
|
Cabintop Recoring Done:
 |
|
Cabintop Now (Skin Lamination Done):
 |
|
Mid Cabin Then:
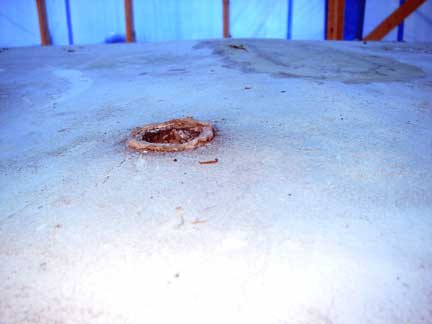 This is the area of the deck where frost heaves occurred in March. |
|
Mid Cabin Recoring Done:
 |
|
Mid Cabin Now: (Skin Lamination Done):
 |
|
Side deck around pump-out fitting, Recoring Done:
|
and Now (Skin Lamination Done):
|
| All told, the re-coring used about 15 square feet of 3/4-inch Balsa contour-kore, over 5 yards of woven roving, probably a similar amount of fiberglass cloth, a couple gallons of Epoxy, and lots of gloves and mixing cups, etc....
Despite all these areas of bad deck coring, I've been generally impressed with how well built this boat is (the rotten coring mostly has to do with hardware installation and maintenance, not so much initial build). | |
Toe Rails Removed
| Toe Rails were the last bit of deck hardware to come off! (only about 200 bolts to undo!) revealling all kinds of dirt, including trapped diesel fuel! | |
Dirty:
|
Clean:
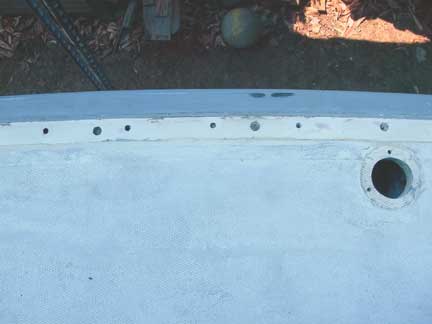
|
Forward Hatch Wavestopper
Molding rounded corners:
 |
Inside of moldled corner:
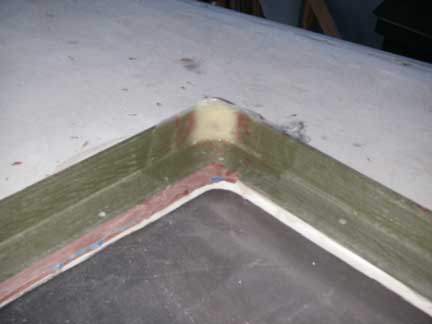 |
I'll be grinding the outside of the corners to match the radius I've molded to the insides, and then will apply fiberglass tape to reinforce.
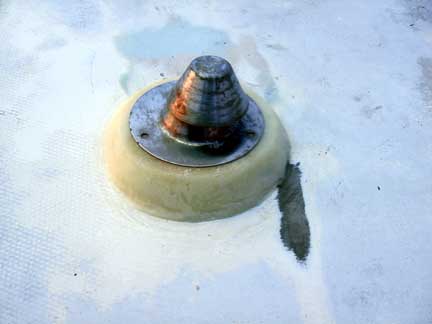
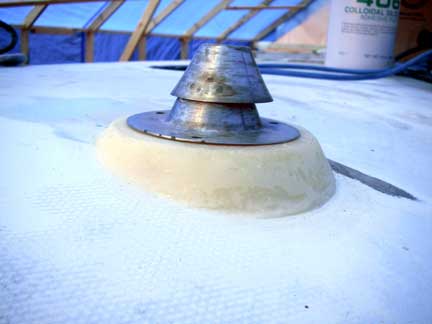
Chimney Cap
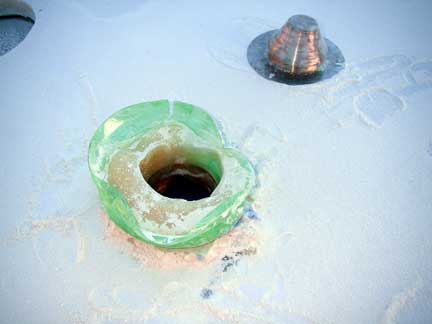
I attempted to use part of a soda bottle as a mold, but the resin pour got too hot and melted the bottle. I ground what was left to shape and finished sculpted with more silica-thickened epoxy, which after sanding got me to this:
 |
 |