Boatyard | Greyhawk | latest | next | 2007-10 | previous | oldest
GREYHAWK's Refit - Continued
October 2007 Update
| Decks repaired and ready for paint |
 |
 |
 |
 |
| Primer Coat | 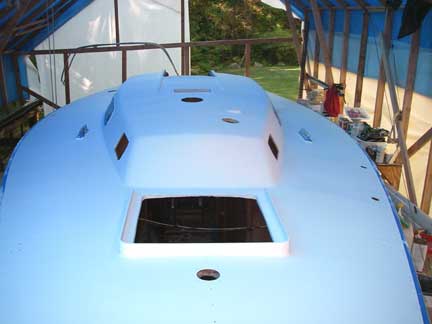 |
 |
 |
|
| "Skid" Coat |  |
 |
 |
 |
| Taped for Non-Skid | 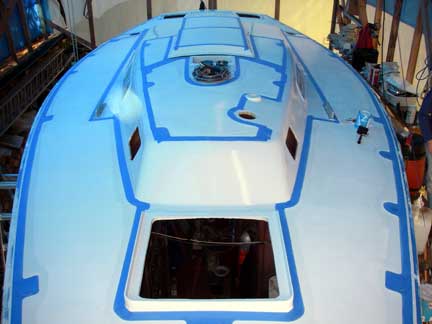 |
 |
||
| Done! | 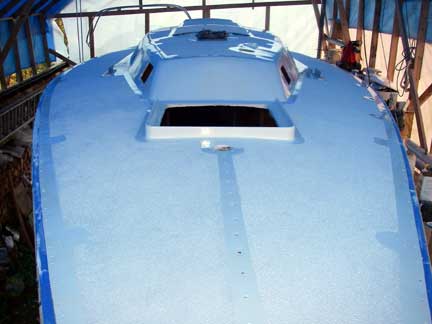 |
 |
 |
|
Last Month, a major transformation occurred as the deck was primed. Over the course of this month, we've finally finished painting the deck! Yeah!!!! This included a second coat of primer, sanding that smooth, a couple coats of "skid" paint (with sanding and cleaning in between), then taping off the "skid" areas for painting of the "non-skid" areas, more sanding and cleaning, and finally applying the non-skid (KiwiGrip).
While the weather was generally cooperative -- during the days -- it was still cool at night, so I ended up setting up a couple of electric heaters in the boat tents (about 3000 watts all together) to try to keep the temperature in range for the paint over those nights. I also spent a day early in the month re-assembling the end walls of the boat tent, and re-covering the tent with new 6-mil plastic sheeting to keep the rain and leaves from blowing in on the fresh paint. I had gotten about 12 months out of the old plastic. Also, earlier in September I covered the roof with a second layer of new blue tarps. With the old layer underneath, hopefully the new ones won't chafe through as quickly.
Here are some pics:
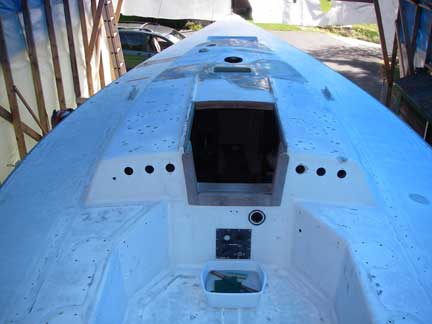
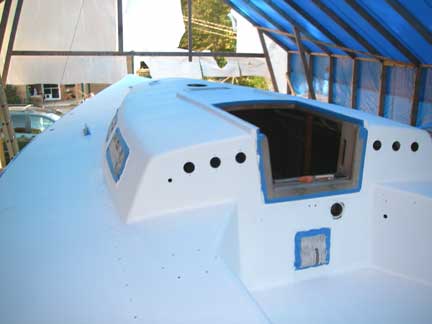
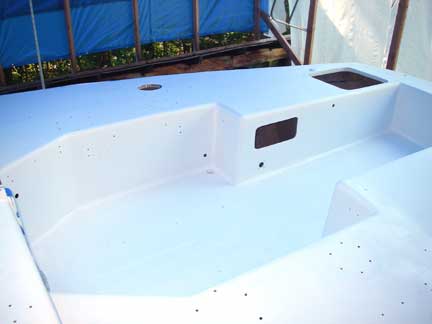
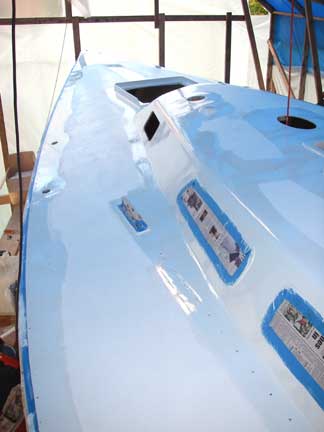
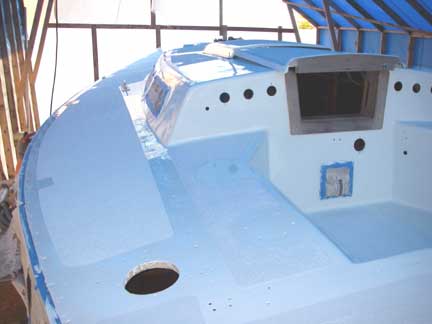
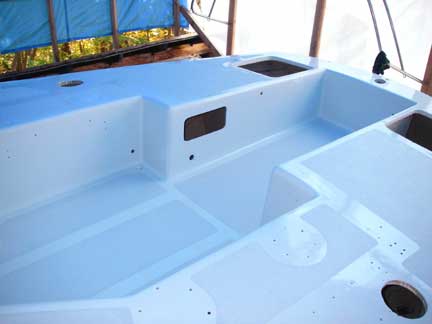
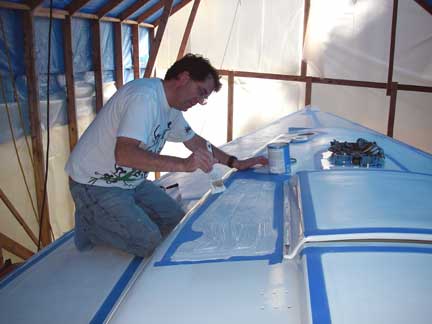
"Skid" Paint applied
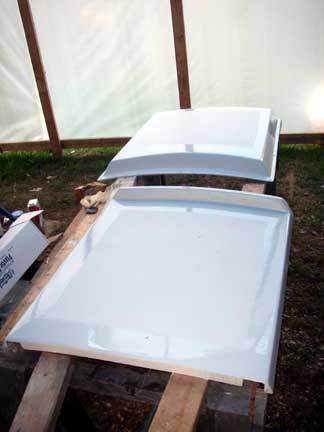
Companionway Sliding Hatch and Seah Hood
While I tried to do a bang-up job on the paint, it is far from perfect. There are quite a number of runs and sags, so don't look too closely! (But it looks good in these low-res images, though, doesn't it?)
Originally, I intended to use the Satin Additive to get a less glossy finish, but keeping it mixed into the paint proved problematic. While the gloss does show up the defects (in both the paint job and the preparation) more readily, it should stand up to the weather much better than the satin finish, and I think the glare will be manageable.
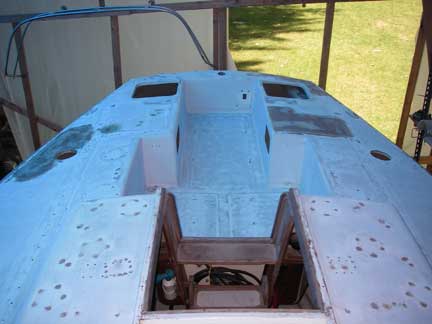
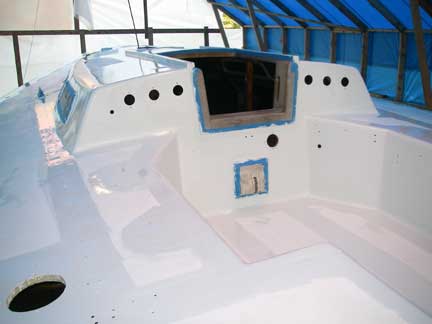
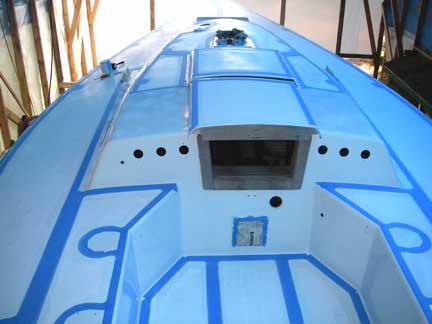
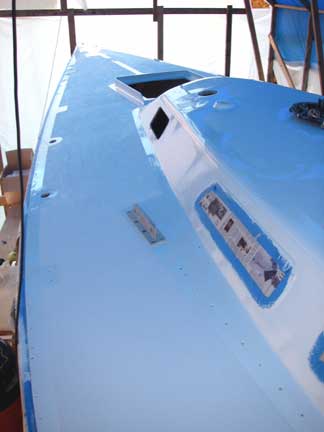
Taped off for application of Non-Skid
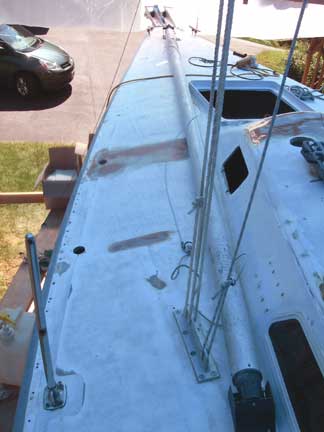
Applying the KiwiGrip Non-Skid
"Trowelling" the KiwiGrip non-skid paint on with a brush
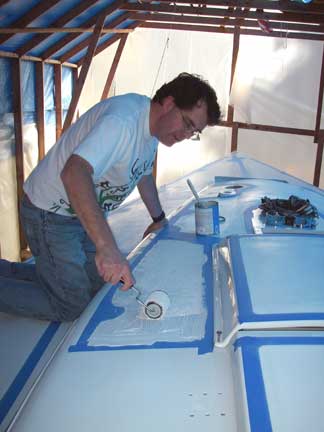
Rolling the KiwiGrip out with their "Loopy-Goopy" roller
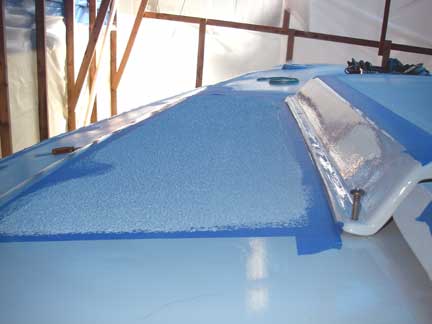
I went for an aggressive texture -- it's supposed to be "non-skid" afterall!

It's over ten feet down to the ground just over that edge...
The KiwiGrip went on very easily, and so far I am very happy with the results. It remains to be seen how well it holds up in use, but so far I would definitely recommend it to anyone lookng for a good non-skid surface for their decks. My dealings with the North American distributor were also very positive. See http://www.kiwigrip.com/
I should note that the KiwiGrip is non-toxic and contains no volatile solvents, so a respirator is not required, although good ventilation is always important.
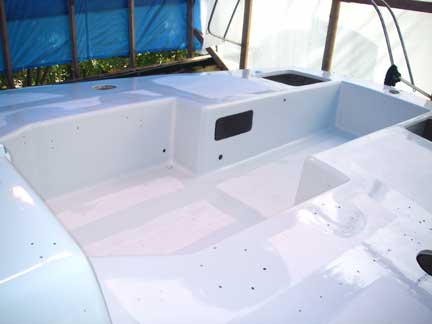
Done!
As the KiwiGrip cures, it will get a little darker, contrasting a bit more with the "skid" paint.
Next up will be re-installing all the deck hardware, which will require a bit of cleaning and polishing first, as well as some miscellaneous machining, etc....